Ready to flaunt adorable Valentine's Day nails without the salon price tag or the stress? This guide shows you how to create easy, charming nail art, even if you're a complete beginner! We'll explore trending nail art for this year, offering simple, step-by-step instructions and tips for flawlessly executing these designs. Plus, we'll show just how easy it is to achieve amazing results with a nail stamping kit (a readily available tool for nail art enthusiasts). Let's craft fun, romantic nails you'll adore!
Easy Nail Art Designs for Valentine's Day
Want to rock delightful Valentine's Day nails without breaking the bank or booking a salon appointment? These incredibly simple designs are ideal for beginners and promise stunning results in minutes! Let's get started!
Classic Red Heartbeat Nails
This timeless design is a romantic classic. It's so easy, even complete novices can master it!
Base Coat Perfection: Begin with a base coat of your favorite vibrant red nail polish. Let it fully dry to prevent smudges. Patience is key here!
Heart-Shaped Delight: Now for the fun! Using a thin nail art brush (or even a toothpick!), carefully paint small hearts onto one or two nails. Don't worry about perfection—slightly imperfect hearts add unique charm! Think of them as tiny love notes on your fingertips.
Top Coat Seal: Once the hearts are dry, apply a top coat for extra shine and lasting power. And you're done! It's truly that simple!
Pretty in Pink Ombre: A Gradient of Love
This effortlessly chic design is surprisingly easy to achieve. You'll need two shades of pink polish: a light, pastel pink and a deeper rose pink.
Light Pink Base: Apply the light pink polish as your base coat. Allow it to dry completely before proceeding. A smooth, even base is key for a successful ombre effect.
Sponge-Dab Magic: Grab a makeup sponge (a foundation sponge works perfectly). Dab the darker pink polish onto the sponge. Gently dab the sponge onto your nails, starting near the cuticle and blending outwards. Repeat, gradually adding more darker pink to create a beautiful gradient. A light touch is best for a natural blend.
Finishing Touch: Once you've achieved your ombre effect, apply a top coat for extra shine and a polished look. You've created a professional-looking ombre manicure at home!
Sparkling Glitter Hearts: A Touch of Shimmering Love
Feeling extra festive? This design is quick, easy, and undeniably glamorous.
Base Coat Selection: Start with your favorite base coat – a clear coat or light pink works beautifully. Let it dry completely.
Glitter Heart Creation: Use a small dotting tool (or the end of a bobby pin!) to dip into your glitter polish and create tiny hearts on your nails. Vary the heart sizes for a whimsical, unique touch.
Sparkle Protection: Finish with a top coat to secure the glitter and add shine and durability. Your nails are now party-ready!
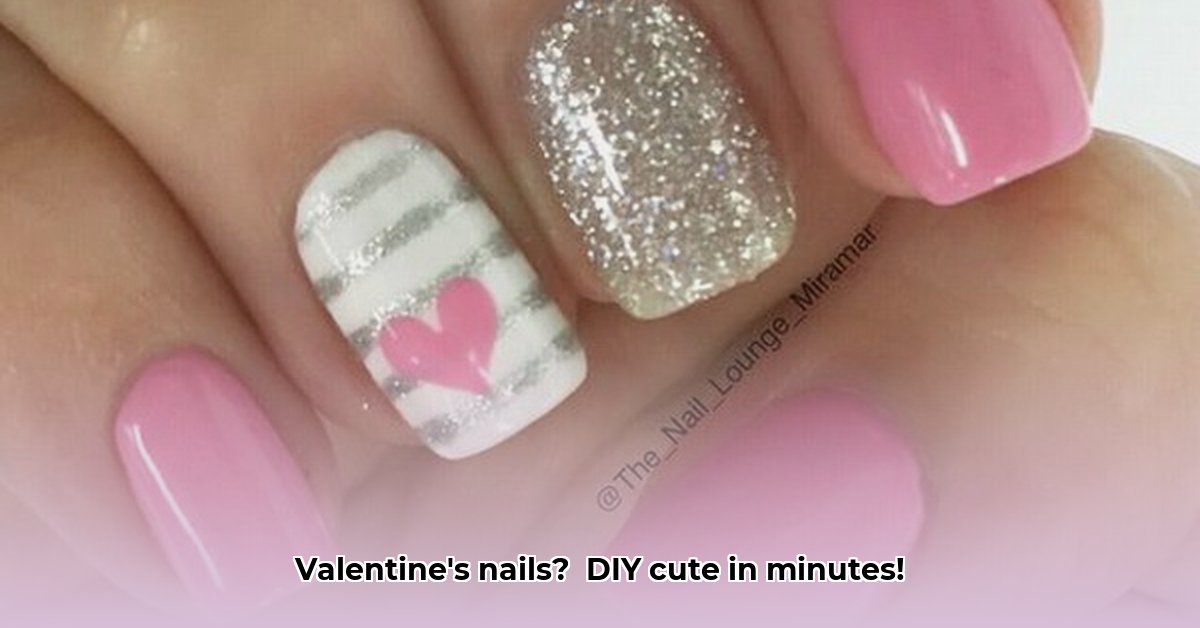
Simple Striped Romance: Effortless Elegance
Desire a sophisticated, yet effortless design? Stripes are your answer!
Neutral Foundation: Begin with a neutral base coat, like white or a soft beige, to make your stripes pop. Let it dry completely.
Striped Design: Use thin striping tape (found at craft stores or online) to create vertical stripes using red and pink polishes. Apply the tape carefully for clean lines. Remove the tape while the polish is slightly wet to avoid smudging.
Final Seal: Apply a top coat for a smooth, polished finish and to protect your stripes.
Level Up Your Nail Art: Essential Tools
For more intricate designs, consider a basic nail art kit. These kits, often found at drugstores or online, usually include dotting tools, striping tape, and stencils, significantly expanding your creative possibilities. They’re a worthwhile investment if you plan to do nail art regularly.
Troubleshooting: Because Imperfect Nails are Beautiful Too!
Don't worry about mistakes! Here's how to handle common nail art mishaps:
Smudges: A little nail polish remover on a cotton swab can gently remove smudges. Be careful not to smudge other areas.
Uneven Polish: Thin coats are best! Multiple thin coats prevent lumps and bumps. Let each coat dry completely.
Short on Time?: If you're short on time, decorate just one or two nails for a stylish, subtle look.
Remember, the most important thing is to have fun! Experiment with colors, designs, and techniques. Your unique style is what makes your nail art special. Happy Valentine's Day!